Wednesday 28 September 2011

Beli 3 string Cigar box

Here is the finished cigar box that my recent Build Log was documenting. well nearly finished I have decided to find some brass sheet to make a tailpiece out of as I think it will suit the gold better. I also have a gold strap pin to put on too.

I am very pleased with how this one has turned out putting the neck through the centre of the box was a pretty good move as the sound transmits from the strings throughout the whole body so even without a sound hole it's certainly loud enough for acoustic strumming. Amped up is pretty good too the Teisco pickup produces a warm tone with enough low fi grittiness to keep it on the mojo side of things. It is a bit buzzy though.
For sale? No I'm keeping this one for myself. at least for a while.

Specification.

Body: Back and sides from a vintage cigar box (unsure of wood) Top made from 4 pieces of beli with a central bubinga stripe.
Neck: Beli
Fingerboard: Bubinga
Frets: 21 narrow medium nickel silver.
Bridge: Purpleheart with nickel silver fret wire top.
Nut: Purpleheart
Tailpiece: Stainless Steel
Machine heads: Gold plated
Pickup: Teisco single coil behind a Mahogany cap.
Controls: full size 500k Volume pot with a Bubinga capped gold plated Knob.
Length:
Width:
Scale length: 25.5"
Weight: 1.3 kg / 2lb 9 oz


Here's the pictures:


Wednesday 21 September 2011

Making a Cigar box guitar. Part 3

Now we have the Body and neck joined together It's just a matter of fixing the top but wait a minute I don't like the top of the box for this one. It's a bit boring and there's some unsightly Ink Stains. ( I normally quite like them to have marks and stains on them but only if they aesthetically pleasing.
Also I have several Thin slices of the Beli left over from Trimming the neck which i decide to laminate together with a thin strip of Bubinga to form the top. This is really going to compliment the neck and headstock.


I can almost get a bookmatched effect even.

Here it is laminated and sanded and put on the top of the box.

I did have a rather small oversight during this procedure I measured the new top against the old top which was left a 4mm gap I will just cut another thin strip of Beli to fill it when I Glue the top on.

Usually My CBG's are sealed with no access hatch to the electronics so I have to decide what to use before I glue the top on. Normally it's a 27mm piezo disc which gives a great authentic and raw blues sound particularly through a little amp but for this one as it's a bit special I have an old tiesco pickup which I'm going to use. This is whats inside the metal casing.


Coincidentally the depth of the pickup is exactly the same depth as the wood top. the Magnet is loose in the middle so I cut a nice piece of thin mahogany which will fit over the top and be attched to the top surface of the lid and another small piece to stick to the bottom just to keep the magnet in place.
Then cut a hole in the top just enough for the pickup part to fit through and glue the wood overhang to the top of the box.


I'm also going to put a single volume control on it so I need to solder this all up and drill the holes in the body for the Volume pot and for the jack socket as the back wall of the guitar is to thick I use a wood auger bit to drill a recess of about 3 mm then drill the normal hole for the socket to fit through.


Soldering is the part I hate the most I'm pretty good at it now but it's taken a lot of practice and swearing and burnt fingers to get the hang of it.

Once this is done I fit the socket and volume pot and then it's time to glue the top on.
Before this is done I maybe would cut some soundholes but as this one has a proper pickup I'm going to leave that for the moment. besides I don't want to cut into the top.
Firstly I glue some strips of wood to the inside top and bottom for the lid to sit on a bit like kerfing on an acoustic guitar. (it will already sit on the sides although sometimes on real flimsy boxes I will do this all the way round.)


Once these have set, time for the top.


I also slot the thin strip of Beli into the gap at the bottom of the guitar.

While this is drying I make a little bubinga cap for a gold control knob that I had in my spares box about. (probably had a mother of peral one originally but long lost)


And also make a bridge out of purpleheart and a strip of fret wire.


And a tailpiece out of some stainless steel sheet offcut. I might replace this one with a brass one as it will go with the gold better but I don't have any at the moment.


Once the top is dry I use filler to fill all the little gaps around the neck and edge of the lid and the gaps where the hinges where and nail holes where the catch was.

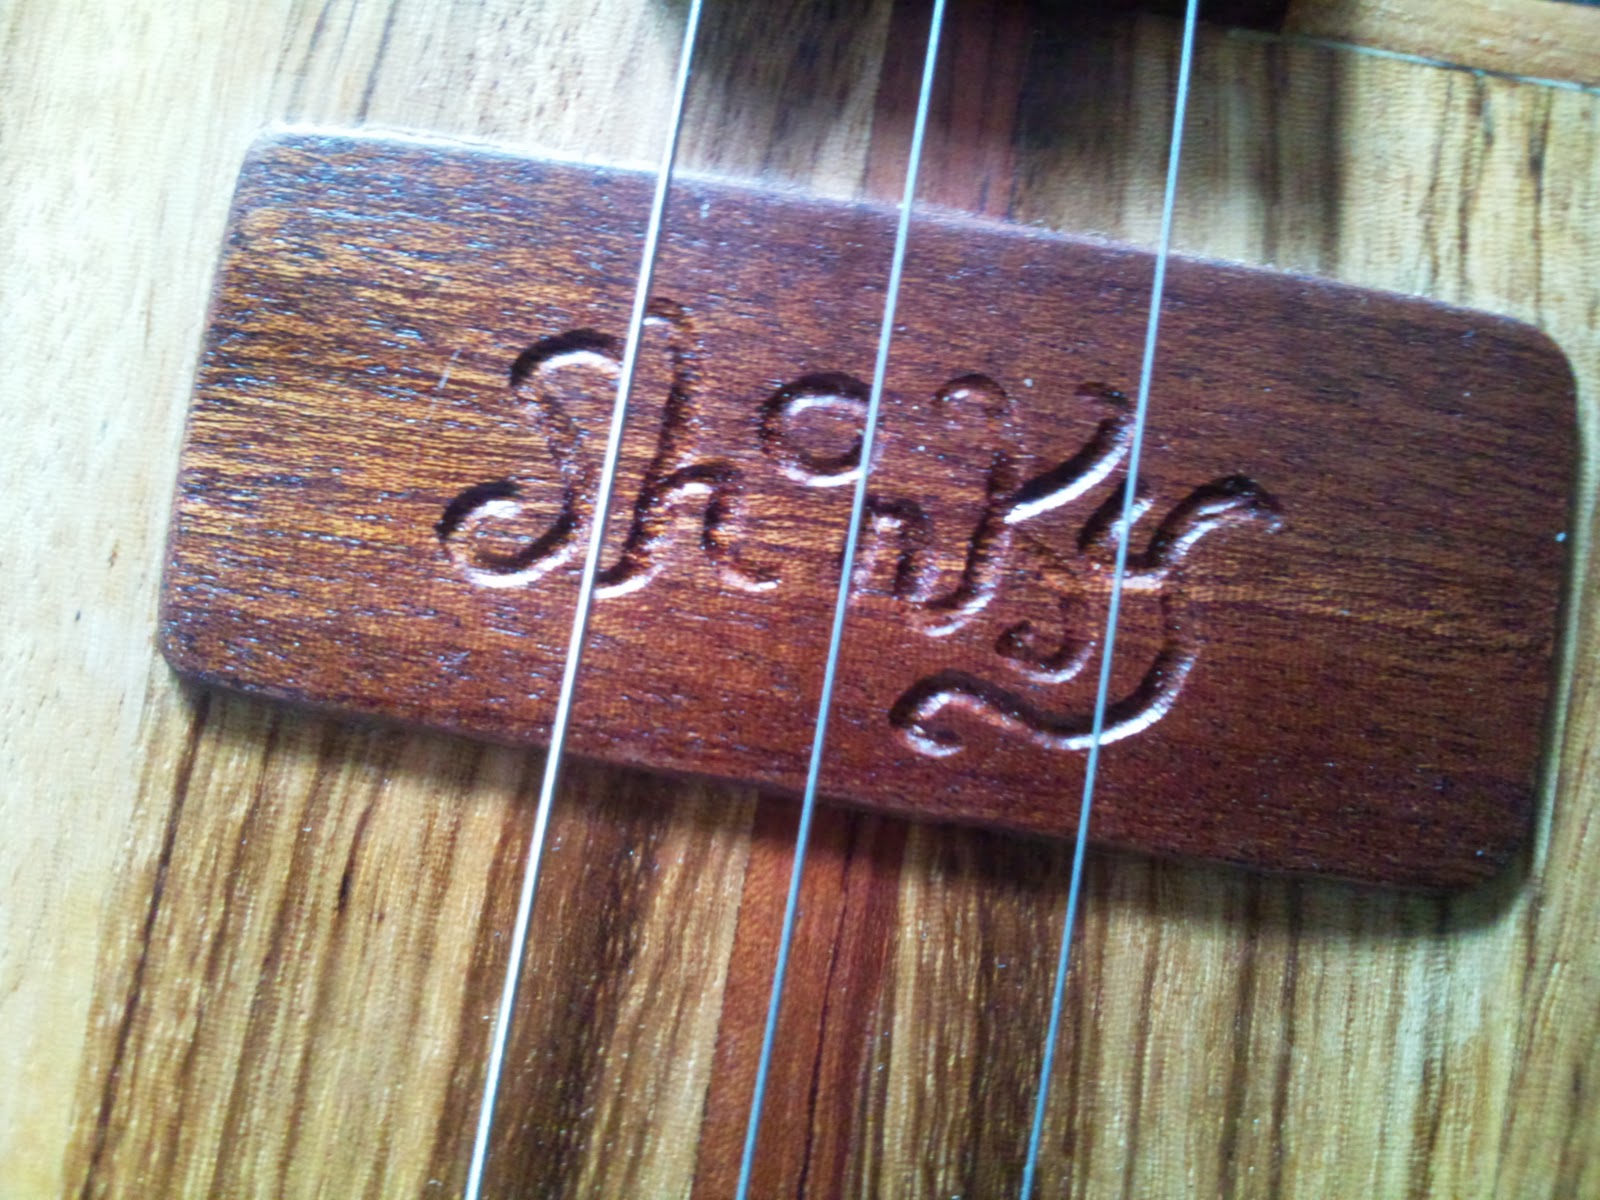
Using a Dremel I carve out my name into the pickup cover.


Then It's a matter of final sanding down to 240 grit you could go down finer it depends on how much time you want to spend on it.  I reckon on 70 to 80% of the time building is taken by sanding. I also like to round off the edges off the box to make it a little more comfortable to play and hold.

You also need to drill some holes in your headstock ( I actually probably did this earlier but just remembered :-))


Once you have done this it's probably wise to fit the hardware and string it up and see what it sounds like and make sure everything works but I'm going to have faith and finish it with two coats of sanding sealer (Sanding between coats) and two coats of my own formulation low sheen (virtually matt) varnish.


And then once it's dry. attach all the hardware, string it up and finally hear it's voice.

 Finished guitar

Thank you for reading :-)


Saturday 17 September 2011

Making a Cigar Box Guitar, Part 2

I left you in part one with the fingerboard just glued to the neck.
While I was waiting for that to set I made up a big chunky purple heart Nut.


I also cut a the hole in the box
and have a cup of tea.


You may have noticed that the headstock is quite deeply recessed from the fingerboard. There is no reason for this particularly just the way it is but it does have some advantages. one being you don't need a string tree and you have plenty of room to tie a strap through it.

Once the Fingerboard has set I then mark out the frets and cut the slots. Now this is where a lot of people get put off  I'll tell you my technique which is cheap and cheerful.
First of all I mark them out using an old guitar neck I line the centre of the  fret side of the neck along the edge of my neck ( I haven't tapered the neck yet so the sides are parallel) I then take a fine and very sharp pencil and mark my fret board where the centre of the fret touches it. I then copy this on the other side And join the marks up creating a line.


To cut the frets I actually use a fretsaw! No not a fret slotting saw a normal fret saw that you can buy in your hardware store. I rest my neck on a flat surface and level it I then get two blocks of hardwood that will be higher than the fret board and  with one hand hold the blocks one each side of the neck  With the Coping saw blade flat against the blocks of wood I line it up with a the mark and very carefully cut the slot until the top  of the  saw blade is level with the fret board.
"Surely this can't be accurate?" I hear you ask well no it probably isn't but I am making a cigar box guitar here not a concert classical. Any irregularities and inaccuracies will only help towards giving it it's own unique tone and sound. Obviously there is a limit to how accurate you have to be otherwise it will just sound awful but half a mil here and there won't hurt. (the first time I did this it was quite bad though but with some practice and taking great care I get pretty good results. I'll probably get fed up of doing it like this eventually and buy myself the proper gear!)
Once the slots are sawn I cut all the frets I'm going to need. This fret board is flat so I am using flat fret wire. (don't bother trying to give your fingerboard a radius completely unnecessary).


Using my sanding machine I shape the frets like this...


Notice the tang This is because I don't like the metal to show at the edge of the fret board.

Now the fret slots are cut I finished of the final shaping of the neck and sand it down to 120 grit.


 I fit the frets by (one at a time)  putting a line of super glue into the fret slot and by hand pressing the fret in. then press it in using a clamp. And when they are all fitted I rub down the edges with 240 grit and also give a quick level by wrapping some 240 grit over a long flat piece of hardwood and lightly sanding the tops of the frets.

Once this is done you are left with little gaps at the fret slot edges. To finish these of I use some wood filler and I always like to go a bit darker so I mix a bit of black acrylic paint into the wood filler and work it well into the fret slots. Once dry sand of the excess until you are left with nice tidy little lines.


Now it's time to fit your neck to the body. Normally I fit the neck directly to the back of the box this time I'm going to have it going through the middle of the box. I also need to set the neck at a slight angle so I can get more string Height at the bridge.


Before you glue it I have to sand both the body and neck to get a good fit I left the body part a bit long for this very reason. Also remember the shoulders on the body part of the neck? these should just fit snugly along the top edge of the box.
Once I have a good fit I glue all the connecting surfaces. and put a temporary screw through the end just to hold it in place.
Leave this to dry and the rest in part 3.


Thursday 15 September 2011

Making a cigar box guitar Part one

I thought I would do a detailed account of one of my builds. Let me first start by saying there is no right way or wrong way to make a cigar box guitar as long as you have a playable instrument at the end of it it really doesn't matter.
This will detail how I make this particular instrument. As I try to use recycled or reclaimed materials each individual instrument requires a different approach to creating it.
Firstly if you are looking at this with building your own in mind then I hope it will give you some ideas and helpful hints. secondly if you are thinking of buying one of my instruments this will show

Lets get started
Here we have a nice old cigar box and a very nice piece of beli

Although this Beli is lovely It's got a big bend in it and It's a little short for a full scale (25.5") neck so I'm going to have to do some work on it. I always wonder if people think because I use reclaimed and recycled and scrap wood that my instruments should be cheap but more often the case is I have to do a whole lot more work to make it usable.
It's quite a thick piece so there is plenty of room cut the edges off and make it straight.
The offcuts are also going to come in useful for fingerboards etc in the future.

So here we have the neck rough shaped. Using a Band saw


The cut out to the left of the picture is the part that will fit into the body. The cutout is to enable the top of the box resonate freely as it will only be attached to to the edges of the box.. The piece I cut out will be jointed into the cutout to the right of the picture to make the headstock so I can get my full 25.5"scale. I am going to fret this one If I wasn't then the scale isn't so important.

Attaching the headstock.

As I am going to fret this one and I also don't use a truss rod so for extra strength I am going to put a Bubinga fingerboard on it ( love how that trips of the tongue.)

Now making fingerboards is quite tricky. My band saw is only a good DIY one so a very slow approach is needed to cutting the initial board. Then it's trimmed to the correct width.


Attaching the Fingerboard to the neck.

For gluing I use evostick weatherproof wood glue I always score the surfaces to be glued with a sharp knife and found this to be an incredibly strong.

So when this has dried we can move on to the final shaping and fretting of the neck which will be in part two.


Sunday 11 September 2011

King Six 3 String Fretted CBG

Fresh out of the Shonky Workshop is this lovely little 3 string fretted CBG.I'm particularly fond of the fender strat Inspired reversed headstock. This is the second time I have used purpleheart as the bridge and nut and I think it works very well.
Anyway here are the pics and bumf from my Shonkymusicalinstruments.co.uk
The King Six is a short scale 3 string fretted CBG
This CBG has a nice rustic look to it and in the best tradition of Cigarbox guitars made from mostly recycled, reclaimed or re-used material. (The strings, piezo and jack socket are new)
Despite it's tiny size this CBG kicks out some volume. it's certainly loud enough to practice on or mic up without amplification although it also has a piezo installed too.
Not only is it loud it also delivers a really sweet mellow tone. The Purpleheart floating bridge and nut Combined with the Australian Walnut through neck construction gives great sustain and clarity.
This guitar is fretted with 20 Narrow / Medium frets. and strung with a .013,.017 .026 Martin acoustic strings. and tuned to DAD.
of course you are welcome and encouraged to try different string / tuning combinations.

It is set up for combination slide / fingering so it is low enough particularly at the headstock end to finger chords and do little runs etc and yet be just high enough so you don't keep hitting the frets.
Specifications:
Body: Vintage Oak King Six cigar box
Neck: Australian Walnut
Headstock: Paduak reversed.
Bridge: Purpleheart
Nut: Purpleheart
Frets: 20 Narrow / Medium nickel silver.
Tailpiece: Aluminium (Maybe)
Machine heads: Gold
Length: 30.5" (70.5cm)
Width: 5.5" (40.4cm)
Scale Length: 23" (58.5cm)
Weight: 1.6lbs (750g)
SOLD

Tuesday 6 September 2011

Bohemian Rhapsody on a Ukulele! Yes Better than one would think.

I think This performance of Queens Bohemian Rhapsody really shows off it's true beauty.
Be impressed.
From Ted